Adding a New Stripe Account
Setting Up Your Stripe Restricted API Key
This step will guide you through setting up a restricted API key.
Info
The restricted API key only grants Envilo limited read access to your Stripe account, allowing Envilo to fetch necessary data for providing its services.
Follow these steps to create a restricted API key in Stripe:
- Log in to your Stripe account
- Navigate to the API keys page: Stripe API Keys
- Find the Restricted keys section at the bottom of the page

- Click Create restricted key
- Select Providing this key to another website
- Click Continue
-
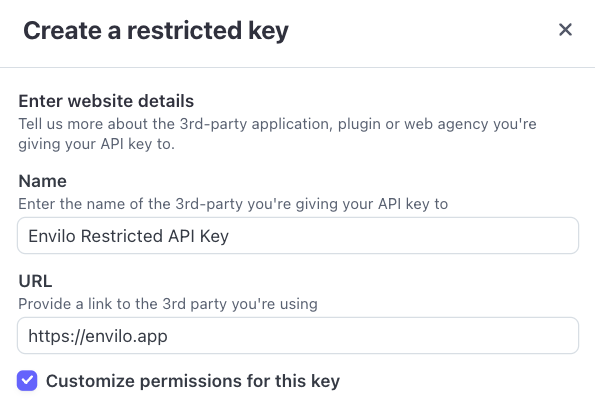
Configure the following settings:
- Name field: Enter
Envilo Restricted API Key - URL field: Enter
https://envilo.app
- Name field: Enter
-
Click Continue
-
Enable Customize permissions for this key
- Grant Read access to Billing

- Grant Read access to Connect

-
Click Create key
Note
Stripe may require identity verification via email or SMS.
- Copy the generated restricted API key (you'll need it for the next step)
- Click Done
Connecting Your Stripe Account with Envilo
This step guides you through connecting your Stripe account to Envilo.
Complete the integration by:
- Visiting your Envilo Dashboard
- Selecting Stripe Accounts from the menu
- Clicking Add a New Account in the lower right corner
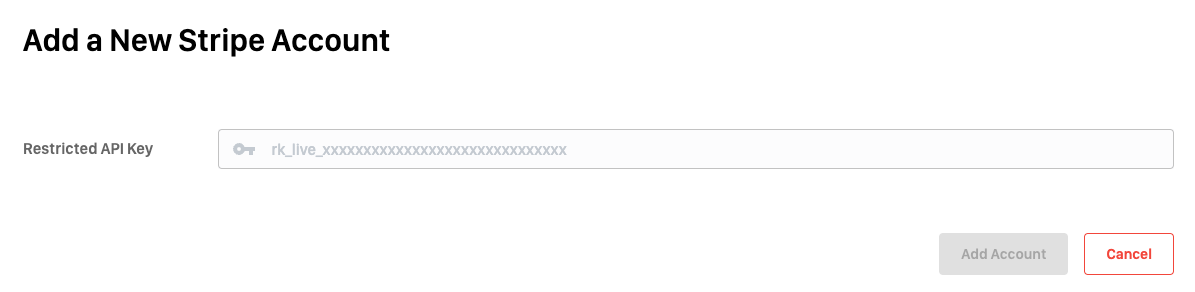
- Paste the restricted API key you created and copied in the previous step
- Click Add Account
Envilo will automatically verify and display your Stripe account information on the dashboard.
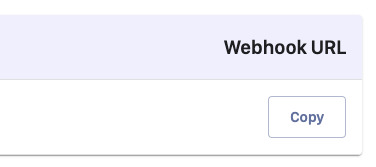
- Click the Copy button in the Webhook URL section of your newly created Stripe account
-
Proceed to the next step
Creating a Webhook
This step guides you through creating a webhook for your Stripe account. The webhook enables Stripe to notify Envilo about successful payments. When Envilo receives these notifications, your customers will automatically receive email notifications with their invoices.
- Return to your Stripe account
- Navigate to the Create an event destination page
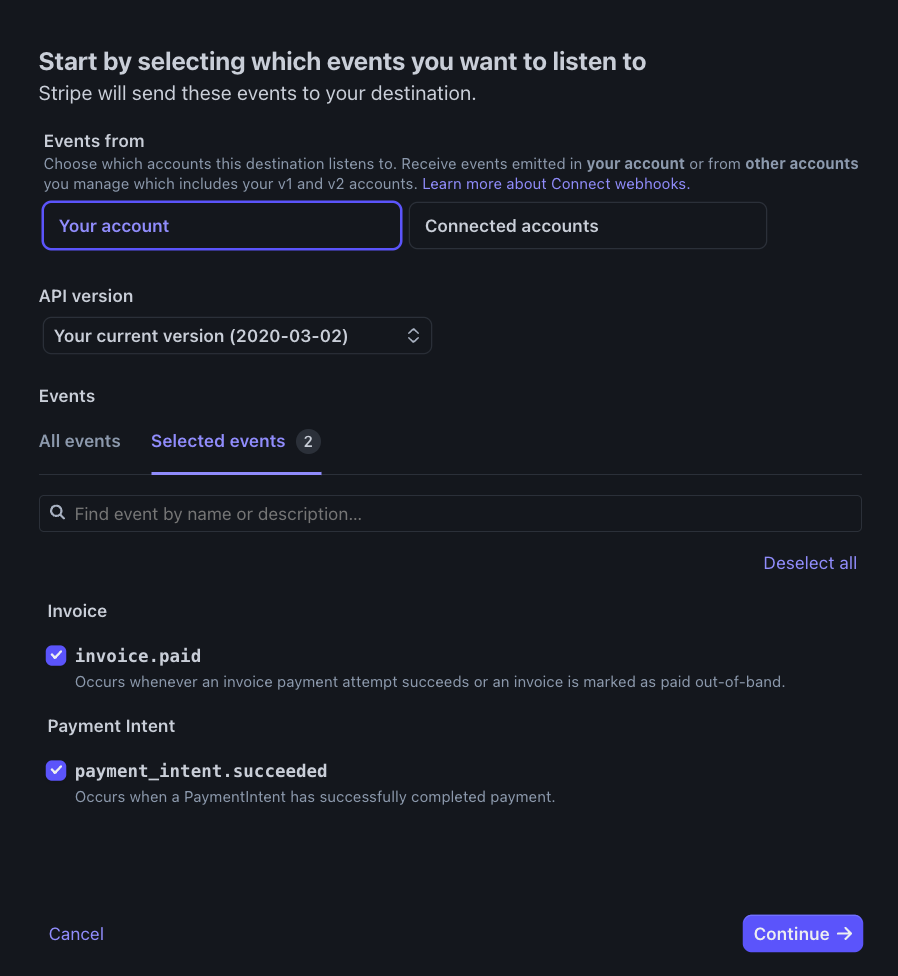
- Select your account
- Choose Your current version (XXXX-XX-XX) in the API version field
-
Under Events > All events section, select these events using the search box:
invoice.paidpayment_intent.succeeded
-
Click Continue
-
Select Webhook endpoint as the Destination type
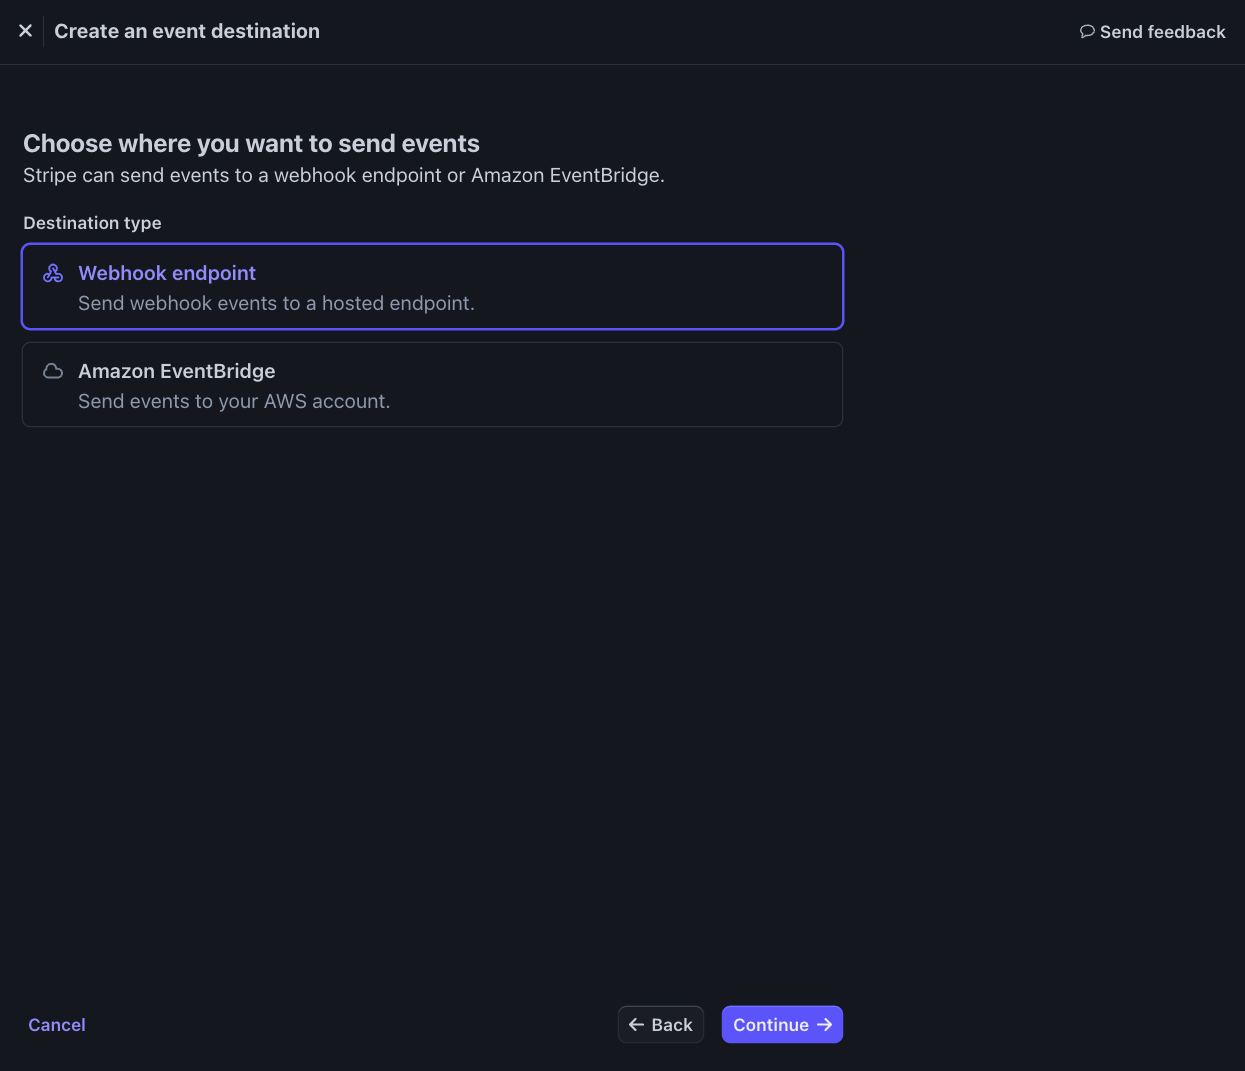
-
Click Continue
-
Paste the copied Webhook URL into the Endpoint URL field

-
Enter a description in the Description field
- Click Create destination
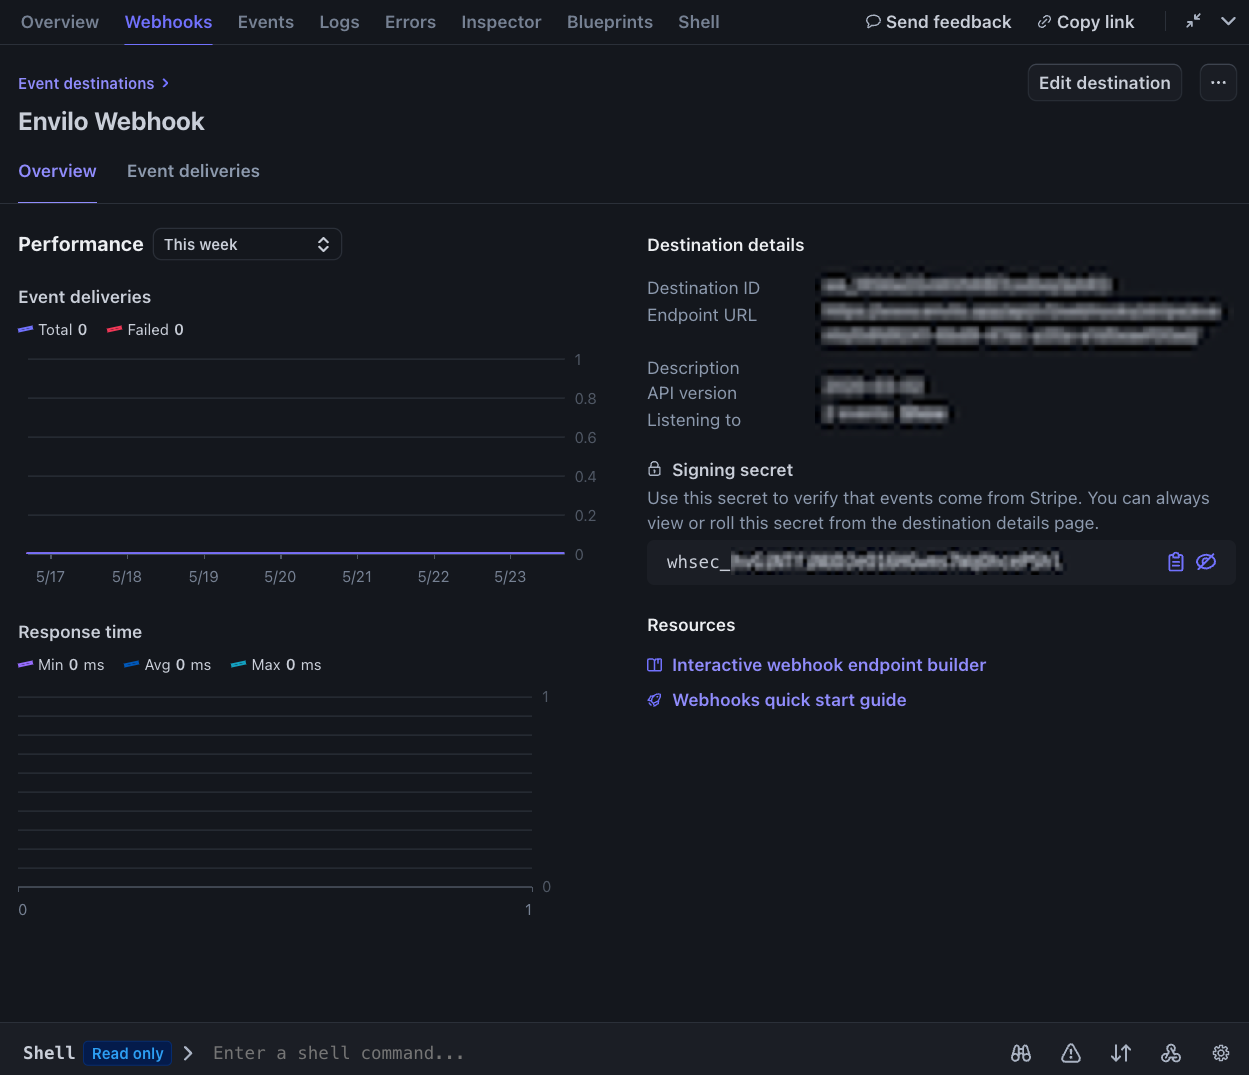
After creation, you'll be redirected to the webhook page
- Click the eye icon next to the webhook secret
-
Click Copy to clipboard to copy the webhook secret for the next step
Setting Up Webhook Secret
By providing the webhook secret used by the webhook you created in the previous step, Envilo will have permission to handle events sent via that webhook.
Go to your Envilo Dashboard
- Select the Stripe account you added
- Scroll to the API section
- Paste the webhook secret you copied in the previous section into the Webhook Secret field
- Scroll down to the end of the page and click Update Account to save the changes